Have you ever listened to music on a set of speakers that sound like they’re breaking? Are you struggling to get the balance of your mix right because something is peaking in the red area of your master chain?
You’re probably dealing with a common nuisance known as clipping. Clipping is a problem that may completely obliterate your mixing process, however, it’s encouraging to know that this is a problem that can be both easily prevented and remedied.
In today’s article, I’m going to run you through a handful of tips that should help you deal with clipping in most recording and mixing situations.
You should be able to apply these steps across a variety of DAWS, and also on any recorded element in your mix (vocals, drums, synths, etc).
What Is Clipping And Why Is It Important To Fix?
Clipping occurs when a signal’s amplitude exceeds the power capacity of the system it’s being played from. In layman’s terms, this a power overload and will cause the signal to break up and distort.
The term clipping refers to how the edges of loud transients have to be clipped off so that the system can accommodate its playback. This leads to a reduction in audio quality and is counterproductive to obtaining a clear and strong mix.
Clipping can also damage your amps or speakers depending on the sound system you use for monitoring or playback.
Let’s take a look at a few methods that you can use to avoid and treat clipping when mixing or recording. These steps have saved me during a lot of mixing issues in quite a variety of recording situations.
How To Prevent Clipping Pre-Recording.
Step #1: Check Input Levels
The first step to preventing clipping is quite a simple and obvious one. You might be setting your input level too high when recording your instrument or vocal. This is quite a common habit as many people think this is the key to a strong signal.
As a rule of thumb, I try to never let my dry recording signal exceed -6 dB. This level will allow you some headroom for when you want to add some treatment such as compression or overdrive which may further increase the gain signal.
Step #2: Try To Use Padding
If you’re recording through an interface, preamp, or mixing desk, then your input channel might have a padding function included.
Padding acts as a kind of limiter and prevents any harsh or abrasive levels from entering the signal chain. Padding is particularly useful for recording highly dynamic microphone takes, such as drums or vocals.
Step #3: Make Sure To Monitor Correctly
A sometimes overlooked element that might lead to clipping while recording is unbalanced monitoring levels. Some engineers or producers prefer to mix with a low level of monitoring, which might encourage them to increase the gain of whatever they’re recording.
I try to use my master chain’s meter to check that my recording signal isn’t stronger than – 6 dB. Then I set my monitoring according to preference while tracking to avoid this issue.
How To Fix Clipping Post Recording
Step #1: Use Proper Gain Staging
Gain staging is generally the very first step of my mixing process regardless of clipping issues. You can sort out so many clipping issues by simply turning everything softer. While this may seem counterintuitive, you’ll have fewer elements in your mix competing for volume.
I like to check my volume levels for everything in groups or busses. I start with the drums and solo each channel to check their respective volume level, and then work my way through the bass, vocals, synths, etc.
Step #2: Use Compression Correctly
Compression is an engineer’s go-to tool for treating volume and dynamic issues during mixing.
Compression will help to squeeze excessive peaks down to an acceptable level without compromising the overall punch or quality of your signal. That is if you use it correctly:
- Attack – Attack determines the speed of your compressor. The quicker the attack, the faster the compression will engage once the signal is played.
- Release – Release will set the overall length of your compression. Higher release times equate to a longer compression.
- Ratio – This parameter is a crucial element when using compression. Start at a 2:1 ratio when treating clipping and work your way down to avoid overcompressing your signal.
- Threshold – This control sets the depth of your compression. When dealing with clipping, your threshold will generally be quite high so that you don’t end up overcompressing your signal.
Step #3: Use EQ To Balance Harsh Frequencies
You can implement reductive EQ to remove harsh peaks in your signal’s frequency response. If you place an EQ on a track that is clipping you should be able to see the problem areas of your EQ quite clearly.
For instance, you may see a high peak in the low -mid area of a boomy kick or bass instrument, and scooping out these peaks can actually lower the gain level of your signal.
Step #4: Use Limiting To Balance Peaks
Much like compression, limiters are a frequently used device when dealing with clipping tracks or mixes. You can use a limiter on the channel of your clipping track to catch any gain peaks during playback.
I generally implement limiting after going through the steps listed above. I also generally use my limiter at the end of my device chain on the master track to catch any excessive volume spikes without compromising audio quality.
Step #5: Use Declipping Plugins
I’ve listed a few handy audio devices that you can use as a means to quickly treat any clipping issues while mixing or recording.
I recommend learning the basic fundamental steps above so that you have a better understanding of how to work the plugins listed below:
Izotope RX3
This is a highly intelligent limiter that also features some audio restoration features for treating overly distorted audio signals. While it may be a bit pricey to some it’s a worthwhile investment for full-time engineers or producers.
Declipper DX Plugin 2.5
This plugin is compact, with a very simple GUI and control settings. It also features a built in noise gate and compressor which should help you deal with most gain issues with meticulous precision.
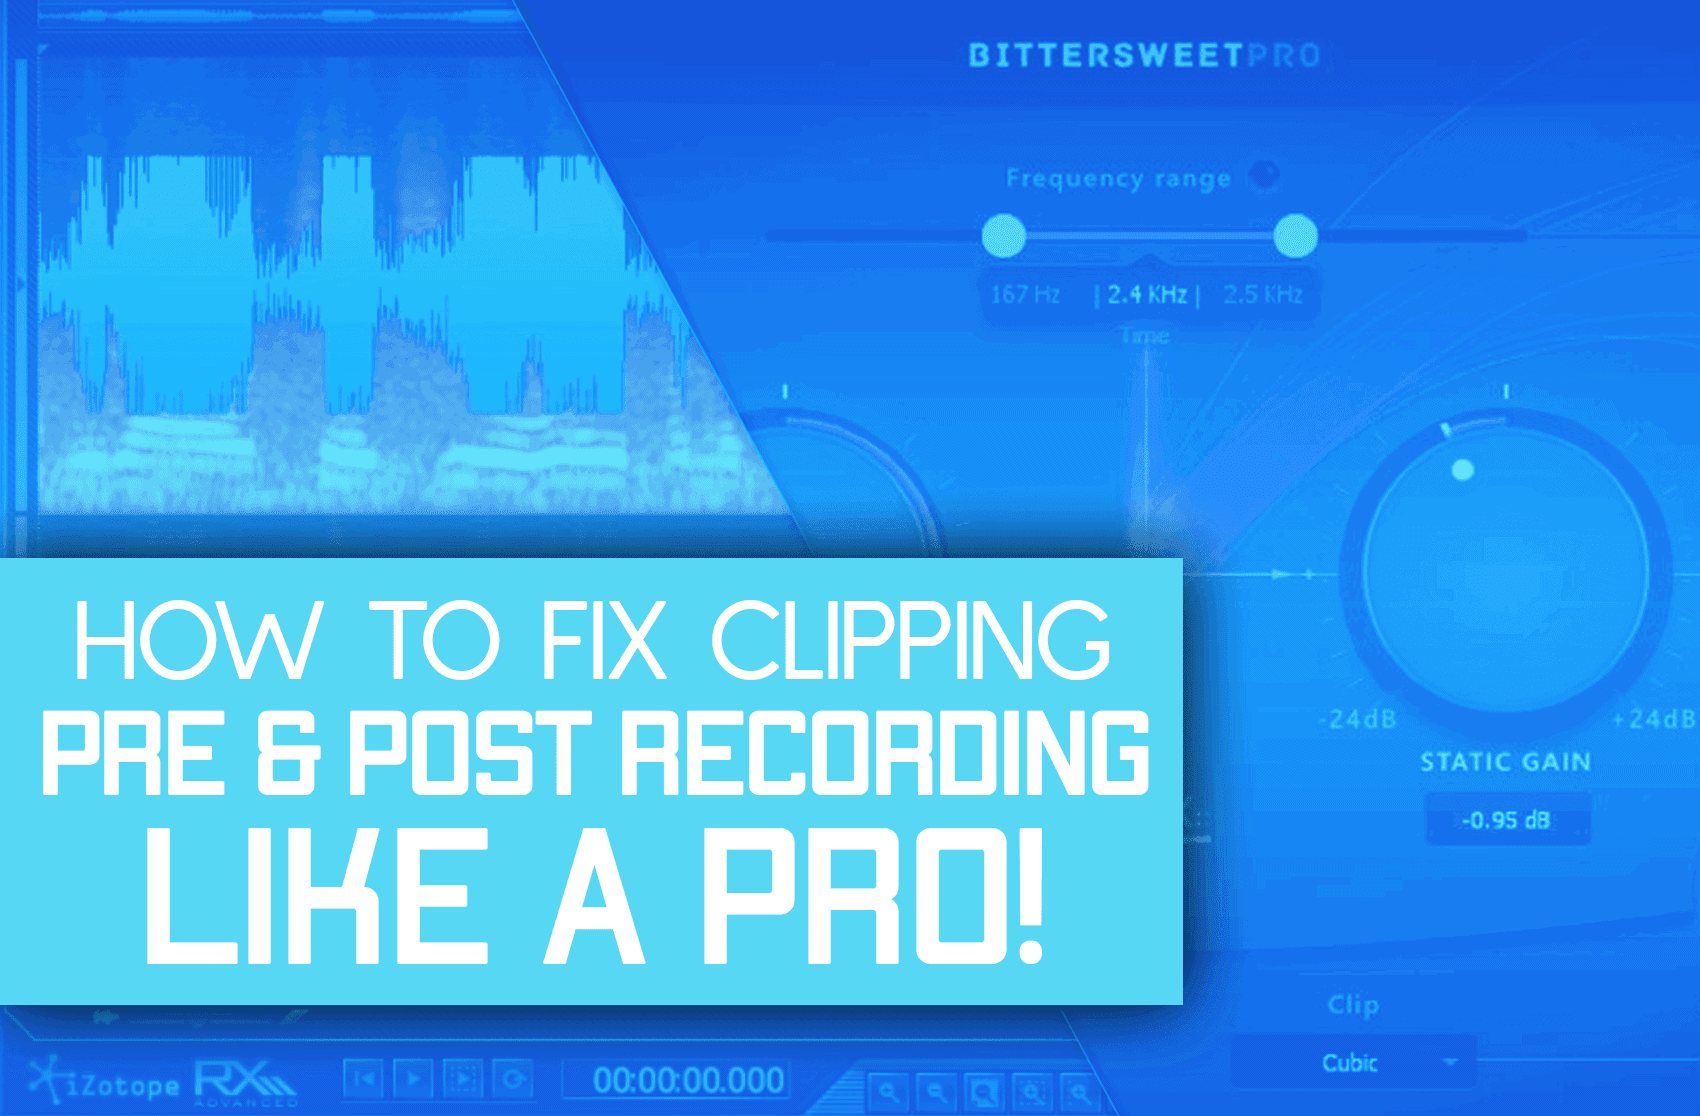
Bittersweet by Flux
This plugin isn’t a compressor, eq or limiter. Instead Bittersweet uses transient design technology to modify the shape of your waveform, which can include gain reduction. It features a single control knob, so it’s fairly easy to understand and use.
Final Thoughts
Clipping is a relatively straightforward concept and issue to understand. However, it does sometimes go overlooked during the recording or mixing process, particularly in the pre-recording process.
As a rule of thumb, I like to use my gain levels in the same way that a chef uses salt. Just the right balance will hold all of your other elements together for a sweet and crisp mix.
If you find yourself curious for more mixing tips, have a look through our article on How To Mix Your Beats in 6 Steps. You’ll be able to use the tips in this article in conjunction with the ones listed above for stronger, cleaner-sounding tracks. Until next time, happy mixing.