At the center of most great rock songs is a great guitar solo. It’s that climactic point in the song where the guitarist pays off the motifs from earlier points in the song and sweeps the listener through towards the final reprisal.
There is a lot that goes into a solo. It has to be tastefully and expertly performed. It has to evoke some sort of emotion and inspire awe.
I won’t begin to tell you how to write a transcendent solo. That will be up to your audience. However, I can share some tips on how to take your solo recording and bring it to the next level on a track.
Step #1: Gain Stage Your Mix Correctly

Gain staging may sound nebulous and complicated, but it’s really not. Gain staging simply refers to the process of managing the volume levels of your tracks, ensuring that your signal is neither too soft nor too loud.
There are two components to keep in mind when gain staging; gain and volume. Gain refers to the strength of your guitar input signal into a device. Volume refers to the output signal leaving that same device.
Ideally, you want the input and output signal strengths relatively equal.
We typically measure gain and volume using dBFS (decibels relative to full scale). The industry standard for gain staging during recording is approximately -18 dBFS, with peaks hitting -10 dBFS.
Before you start recording, ensure that your signal input is hovering around -18 dBFS. Monitor your DAW input meters. You should be able to tell where your signal is sitting.
If the input signal is too soft, you’ll have to artificially boost it during the mix, which saps your solo of its grandeur and power. You will also bring forth unwanted room noise and harsh transients.
If you record too hot, you risk excess distortion (clipping). This makes things muddy and unprofessional.
To maintain maximal clarity from the initial recording, you must maintain that sweet spot of -18 dBFS going in and coming out of each plugin in the signal chain.
Plugins will naturally add or subtract volume from your signal.
This is super easy to monitor by ear, thankfully. With every plugin you add, continually turn the plugin on and off. Listen carefully and monitor your levels. There should be practically zero difference in overall track volume between the processed and bypassed signal.
Proper gain staging ensures that your solo will maintain all of the character and emotion with which it was recorded. Beyond that, your entire song will sound clear and professional. A wonderful bonus!
Step #2: Remove Unnecessary Rhythmic Elements

There are varying degrees of rhythmic complexity when it comes to song composition.
While genres such as blues and classic rock stick heavily to a 4/4 time groove, maintaining a tight but straightforward backbeat. Others such as jazz, metal, or prog-rock more often toy around with faster tempos, odd time signature changes, and dense instrumental layering.
Regardless of what genre you love to write, all roads lead to your guitar solo. Once that solo comes around, it should have plenty of room to strut.
The solo is most often placed at the tailend of the bridge, leading the listener into the climax of the song.
The rhythm section’s primary role here is to provide a solid bedrock on which the guitarist can deliver on the emotions established during the earlier phases of the song.
Drum parts ought to be simplified to a point. You want to have your drummer minimize the use of fills and complex patterns and lock into the groove with the bassist (and rhythm guitarist).
Now, there is a level of subjectivity to this. The definition of “unnecessary” will understandably vary from one artist to the next. A simple rhythm for Dream Theater is different from that of AC/DC.
I’ll put it to you this way. During the solo, most ears should be tuned into that solo. You don’t want other instruments pulling focus from the intended power of that guitar performance.
All of that delicately applied delay, chorus, saturation, and reverb will be for nought. Make space for all of those elements to intermingle and breathe.
Speaking of saturation….
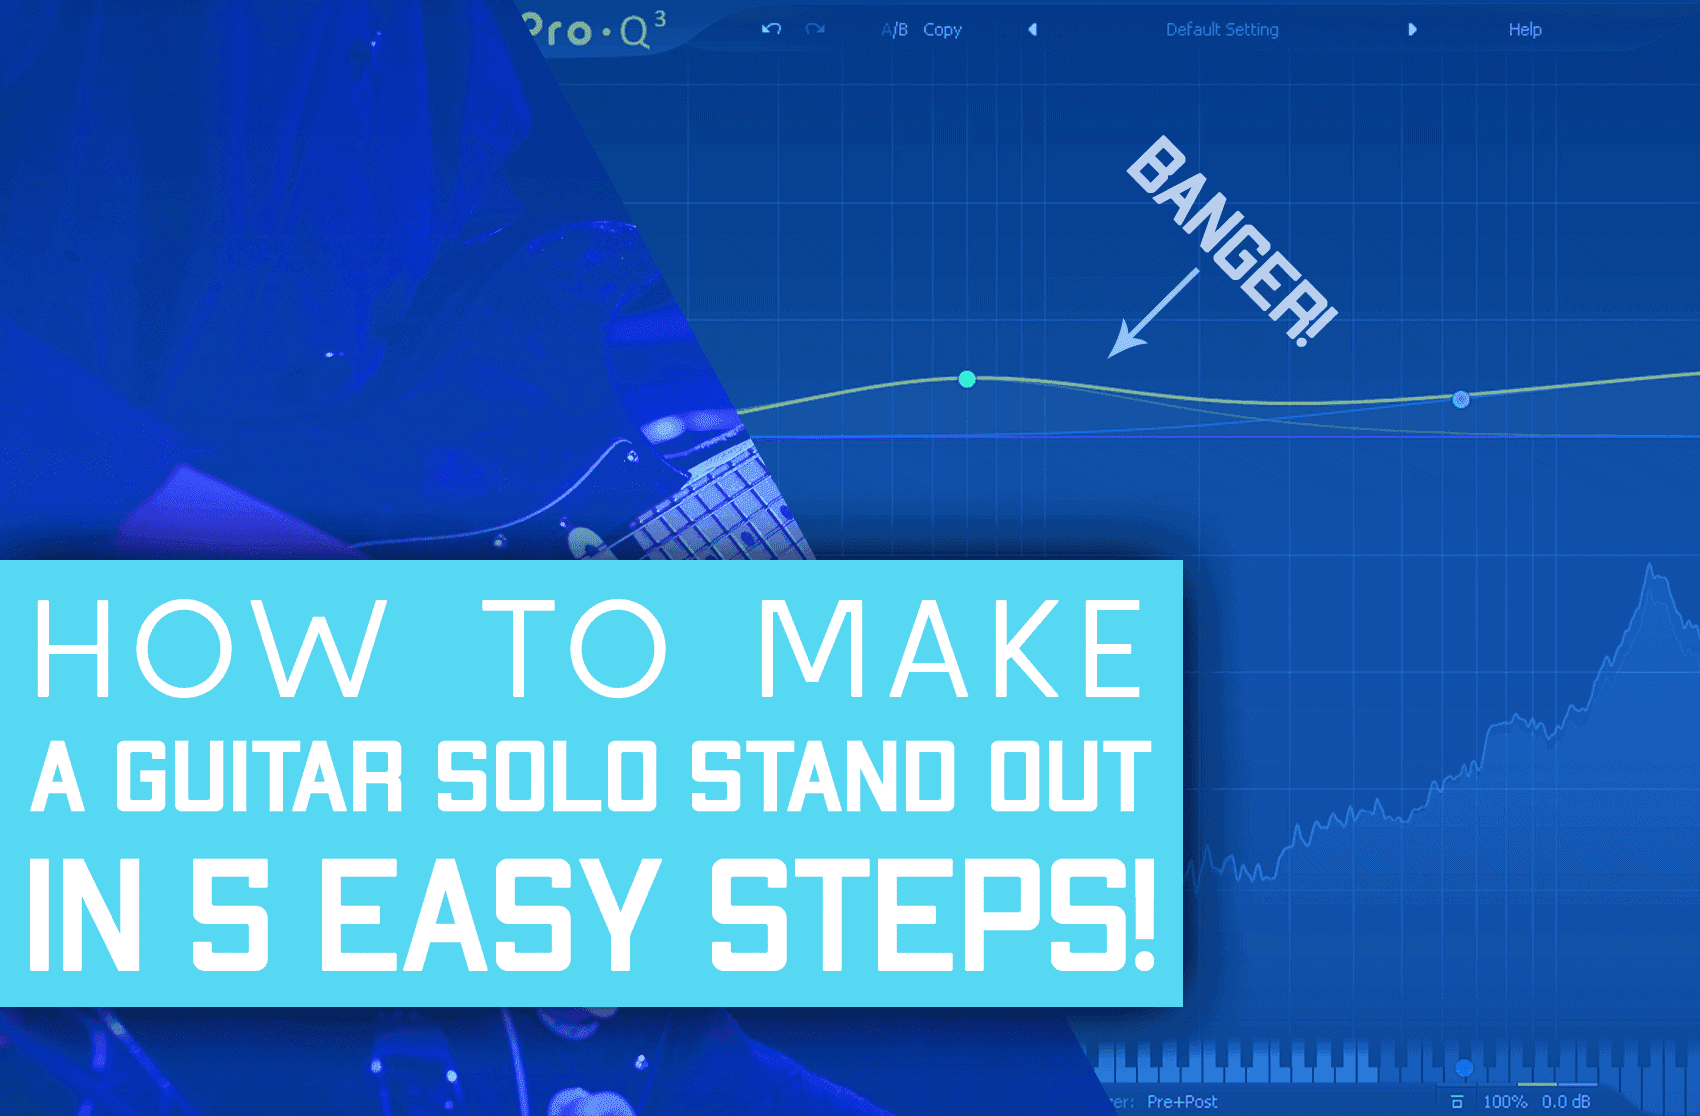
Step #3: Add Saturation & Distortion

Saturation and distortion are often erroneously conflated. While they do have similar properties, it’s important to understand the difference between the two and when to apply them. And for good reason.
Used strategically, they can add much needed energy and excitement to your solo, albeit in subtly different ways.
In short, saturation is the process of adding extra mid-range harmonic frequencies to a particular sound, resulting in a fuller, warmer sound.
If your guitar sounds too thin, tastefully applied saturation can give it that extra oomph and warmth without pushing it so far that it clips.
It can also be used to balance out the upper-mids if your tone sounds too dark.
It can be just as surgical as your EQ.
Below is a handy little guide to saturation on guitar. Target these ranges, pending your guitar tone desires. Within these ranges, it’s a matter of experimentation to taste.
- (3-20kHz) – if your guitar sounds dark or bassy
- (500Hz-5kHz) – if your guitar sounds thin or weak
If you want a subtle boost in the body of your guitar tone, saturation is the way to go.
Distortion is all about drive and power. Think about it like saturation on steroids!
Proper saturation takes care to avoid clipping of the signal.
Distortion involves purposefully pushing the audio signal to the point where it slightly clips, breaking up the signals at its peaks. You’ll notice it when you see it in your waveforms.
Be careful with distortion. We only want a little clipping. After all, we still need to maintain the note clarity of the guitar solo.
Where heaps of heavy distortion and gain can work wonders for chunky riffs and palm mutes, they can muddy up a solo very quickly.
Too much distortion can be harsh on the ears, even in the most steadfast of metalheads.
An overly distorted tone will prevent that solo from cutting through the mix. It will be buried.
All you need is a little punch. With solos, less distortion is more, ensuring you maintain the clarity of your performance.
Saturation and distortion can take your solo from good to great!
Step #4: Experiment With Higher Octaves

It’s not always about the effects on the post-production side. There are ways to beef up your solo before you start slathering on those plugins.
One trick is layering on higher octaves, creating a thicker, more complete sound.
If you don’t already know, the 12th fret of your guitar is the same note as your open string, just an octave higher.
Simply overdub your solo with an identical performance, 12 frets higher on the neck. Place the overdub low in the mix behind the main solo track and you have a much more three-dimensional solo.
You can choose to only overdub fretted notes 12 frets higher, while keeping open or drone notes at their original pitch.
This can lend those open notes a little power, while simultaneously providing fullness to the higher notes.
Step #5: Add A Special Aspect To It
Add that crowning touch. A little bit of reverb and delay can lend an ethereal quality to clean chord progressions and lead work.
They elevate the space in which your solo soars. You can also use reverb on your octave overdubs. And you can go hog wild with it.
Take that octave up overdub and drench it in reverb. Seriously, lay it on thick! We’re going to bury it in the mix. But it will underpin your solo and give it an anthemic feel.
Now you can take your lovingly crafted solo to the next level, sonically.