A solid drum mix can turn a good song into an instant classic. More often than not, a song’s overall impact relies heavily on the drums. Today I’ve created a quick guide to run you through the basic fundamentals of drum mixing. These tips will help a lot if your drums are feeling a bit lackluster, or if they’re overwhelming everything else in your mix.
You can apply these techniques to both live and electronic drum parts. Before you get started on your mix, make sure that every piece of audio that you have composed or recorded has a clear signal, free of any excessive buzz or other interruption.
Most of the steps below also use an eight-band parametric EQ, which should come standard on any mixing desk or DAW. We’ve got a great article on using EQ if you’re unfamiliar with the technique.
Step #1: Balance The Kick Drum’s Volume

Gain staging is an often overlooked, but highly crucial step towards getting a drum sound. More often than not, mix issues can be prevented by ensuring that every channel is at an appropriate volume level. This applies especially to your kick drum. Usually, if the kick drum is too loud, we tend to proceed and make everything else louder as well, and this leads to noisy or cluttered mixes.
I like to think of my kick drum as the anchor of all my rhythmic parts, both rhythmically and in volume. Start off by muting all your channels and listening to the kick on its own. As a rule of thumb, I keep the clean signal between -6 and -12 dB depending on the song. You can add any extra punch to the kick using other processing later on in the mix, but first, ensure your dry kick drum is coming through clearly.
Step #2: Cut Unnecessary Frequencies
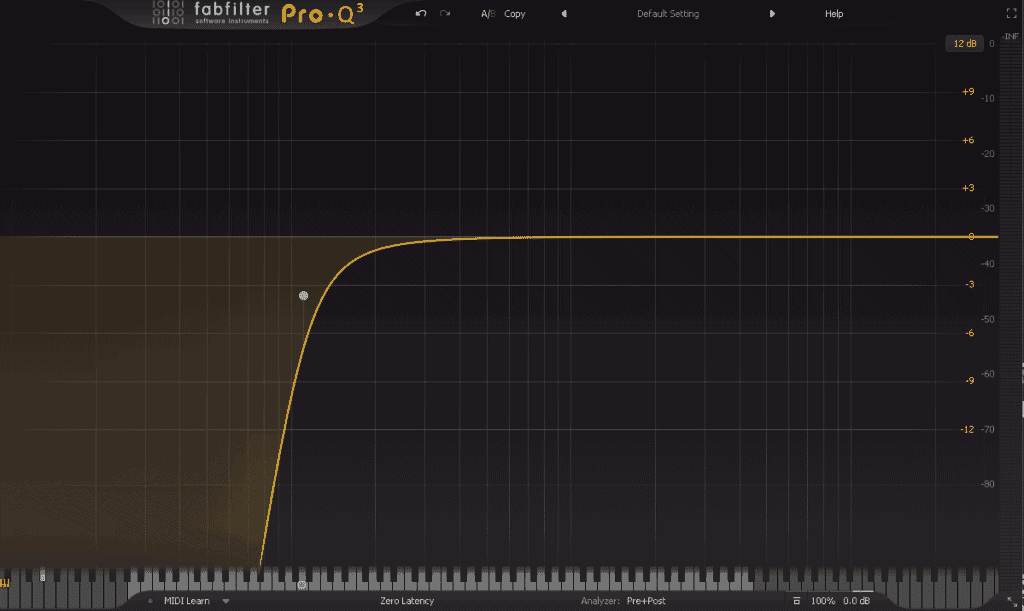
There are certain frequencies you call attenuate right of the bat when treating your drum mix. You can use a low pass filter on your EQ to sweep out the sub frequencies below 30 Hz on every drum part. Our ears don’t generally hear anything below this level, but it does still add to the overall noisiness of the mix.
You can also cut out some of the highest frequencies on instruments like the kicks, toms, and snare drum. Not only will this add some extra presence to these instruments, but it will also create some space in your mix for your hi-hats and cymbals.
Step #3: Balance The Low-End
The bottom end of your mix determines the overall weight and thickness of your drum mix. The most prominent instruments here will be your kick drum, low and mid toms, as well as any 808’s or other deeper drum elements.
If you’re using 808’s alongside your kick drum, make sure to sweep to give the kick drum some room in the bottom-end by sweeping out the low end of your 808. See how much bottom end of your kick you can sweep without losing fatness in your mix. You can tweak the attack of your kick drum by either boosting or cutting frequencies around 100 Hz.
Finally, check that none of your toms are clashing with your kick drum or each other. I usually find this happens between 120 and 200 Hz, and usually, give my lower toms priority in this area as this is where they carry most of their weight. Lower any abrasive frequencies in this area using a low-shelf filter on your EQ.
Try not to boost anything in your bottom-end unnecessarily, as this can lead to your overall drum mix sounding too boomy and will detract from its impact.
Step #4: Balance The Low Mid

The low-mid region of your drum mix can determine a fair amount of the cleanliness of your overall mix. The more defined you get this area of your mix sounding, the more dynamic your drums will feel.
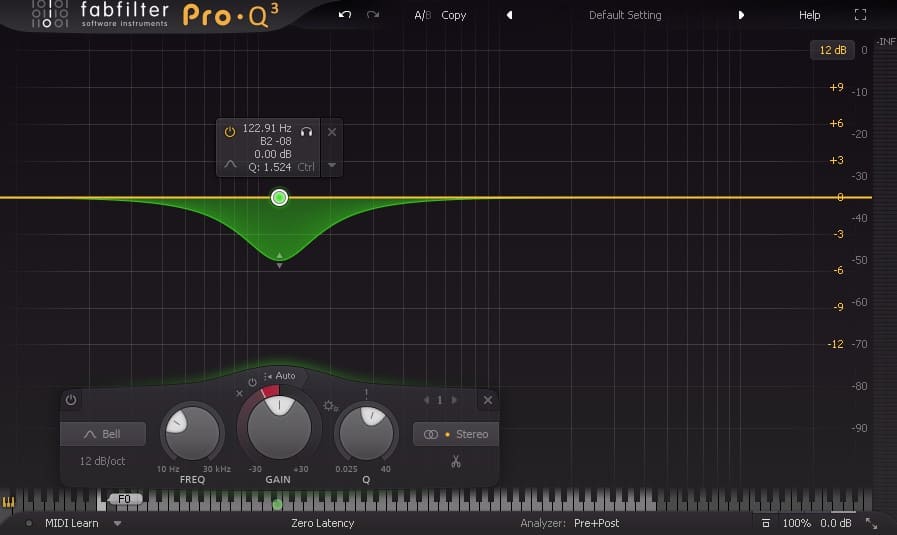
If your mix is sounding overly muddy, check your deeper instruments (kick, toms, 808s) for any problem areas between 200 and 400hz. You’ll probably find some regions that you can lower using a low-shelf or notch filter on your EQ.
This region holds a lot of the fatness in your snare, as well as mid or toms that may be in the mix. Solo each of these instruments and see how much of their low-end you can pull out without losing too much weight.
Step #5: Balance The Mid-Range

Every element in your drum mix will usually crossover or clash somewhere in your mid-range. The busier your drum part, the more cluttered mix can become. However, I try not to remove too much from my mid-range to dehumanize my overall mix.
Problem areas in your mid-range will generally produce an unpleasant honky or boxy tone. I like to check my lowest instruments first for anything abrasive frequencies before moving on to my snares, toms, and hi-hats.
I try to prioritize my snare in this region as much as possible and mix my other elements around this foundation. If your snare feels too harsh, reduce some frequencies between 300 – 800 Hz, and do the same if your toms feel too boxy. I also try to check for any areas between 5-7 kHz that I can raise to add presence to my snares.
I love using the solo mode setting to eq the mid-range of every primary instrument in my drum mix, especially if my drum parts are musically complex. Solo mode allows you to single out any harsh or overly resonant frequencies. Set your Q’s quite narrow when seeking and scooping frequencies in the mid-range, as overtreatment can dull your overall drum mix.
Step #6: Balance The High End

The top-end of your mix usually plays home to your hit-hats, rides, and other cymbals – as well as shakers and tambourine-type percussion. However, you can use this area to treat other elements of your drum mix as well.
There’s a small area around 8-10 kHz that you can lift to add some extra attack to your kick. Boosting this region sometimes gives your kick a bit more of the ‘’knock’’ sound that it needs to feel punchier.
Check for any areas between 7- 10k that you can either boost or lower to sweeten your hi-hats. This region is responsible for a lot of the crucial crisp in your hats, so make sure to give it some special attention, and perhaps utilize solo mode. You can also use a low-pass filter to cut out unnecessary frequencies above 18k to help clean up your hi-hat mix. You can do the same for your cymbals, but be sure to use broad Q’s with moderate slopes to avoid increasing their harshness.
Step #7: Add Effects (Reverb, Saturation, Transient Shaper, etc…)

There is a pretty healthy selection of tools and effects that you can use to liven up your drum mix. I only apply the tools below once I’ve finished checking all my channels for volume and EQ.
Compression

Compression is the cornerstone of most great mixes. Use compression to add some pump and dynamic to each element. Alternatively, you can use a multiband or glue compressor on a mix bus or drum group to make all your elements sound more cohesive together.
Try not to set any of your compression parameters (ratio, attack, threshold, etc) too high when using compression, as this can cause your drums to sound squashed or muffled.
Also try to use compression in the context of your overall mix, as compressing in solo mode can be counterproductive.
Saturation
Saturators enhance the harmonic content of any audio sent through them. They’re brilliant for adding some grit and color to your drum mix, particularly in the mid and upper-frequency range. I like to place subtle saturation on my snares, hi-hats, and cymbals before adding some more on a drum group or bus.
Saturation choices will often be determined by your mixed preferences. Some people enjoy clean drums with just a touch of color, while others like their drums to sound crunchier or distorted. Be sure to set your saturation to suit the mood and mix of the rest of your song.
Reverb

Reverb is super useful for tying all of your drum elements together to make them sound as if they’re coming from the same room. You can place individual reverbs on selected channels to help increase their depth and movement within a drum mix.
Alternatively, you can create a reverb return track and send your drum elements to this send. Make sure to have your reverb wetness at 100 % and use the decay and size settings to determine the spatial dynamics of your ‘room’.
Here’s a sneaky tip for advanced producers, you can place a compressor after your reverb, and set the sidechain to your drum group. This way, your reverb will pump along with the dynamics of your drum, and help stop any reverb from intruding on the rest of your mix.
Transient Shapers

Transient shapers allow you to edit various playback parameters of selected audio. You can use this tool to shorten, lengthen or even chop up bits of audio, as well as adjusting fades or volume parameters.
This can be a really handy tool for cleaning up messy drum mixes or possible mistakes. However, I also try to use these with caution, and only when necessary as they can leave mixes sounding a bit robotic or overproduced (especially when used incorrectly).
Important Things To Notice When Mixing Drums
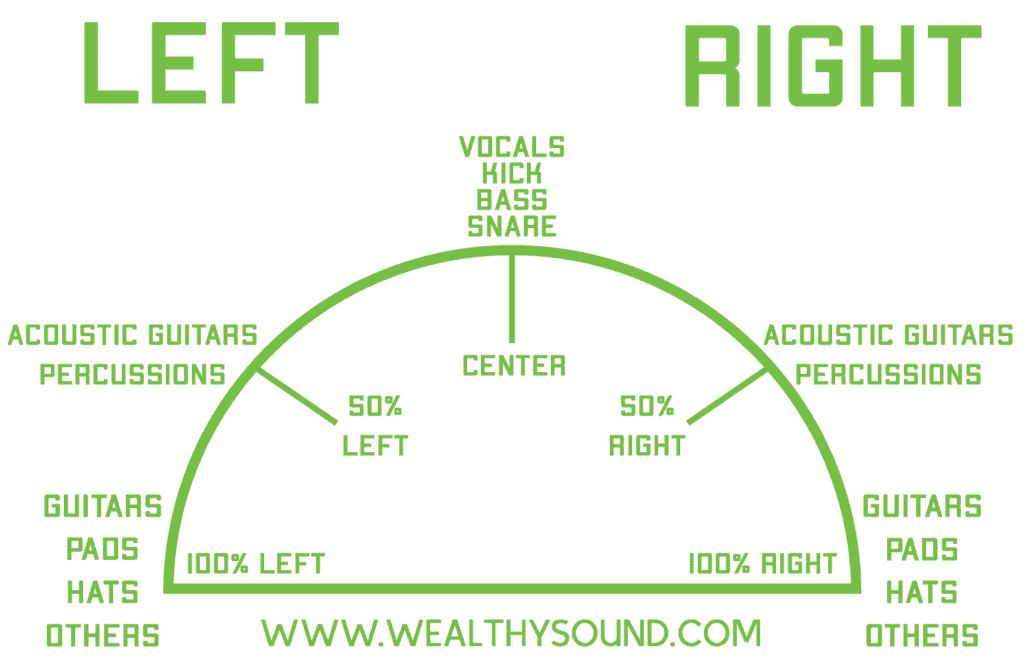
Tip #1: Make use of panning to clear your track
To give each of your drum elements appropriate room to breathe and treat. Kicks and snare drums are usually placed right in the center of your stereo image, with hi-hats falling just left or right (much like a regular drum kit).
Tip #2: Ensure that your drum parts are sitting right in the pocket of your groove
This can determine a lot of your choices with things like EQ and compression. This doesn’t necessarily mean that each part is perfectly on the grid. If it makes your foot tap or the song move, chances are your drums parts are in the right spot.
Tip #3: Layer certain drum elements with other sounds for extra texture
For example, I sometimes layer my snare with a clap or sampled white noise to make it sound a bit more interesting.
Tip #4: Make use of reference tracks
If you find yourself a bit stuck or lost for direction when making choices for your drum mix. Find songs that are in a similar mood or genre to the one you’re working on, and use their drums as a reference point for your mixing choices.
Final Thoughts
There is no such thing as the perfect drum mix. Even seasoned professionals that have learned to cover the fundamentals listed above have also learned to bend (and sometimes break) these rules to create more unique and exciting mixes. Power to them. However, it is important to understand the rules before you break them. Integrating the steps above into your mixing game can help make your mixdowns more fluid and effortless so that you have the room to explore and experiment with confidence.
Are you still interested in getting more out of your drum mix? If so, check out my article on How To Make Your Drums Hit Harder In 5 Easy Steps. You can use both of these articles to add to your drum mix checklist for your next live or studio session.
Thanks so much for reading through our guide on How To Mix Drums Professionally in 7 Easy Steps. We hope you picked up something valuable here. Until next time, happy mixing!